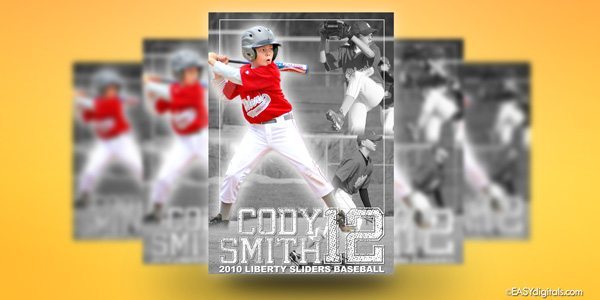
New Photoshop Tutorial: Motion Blur
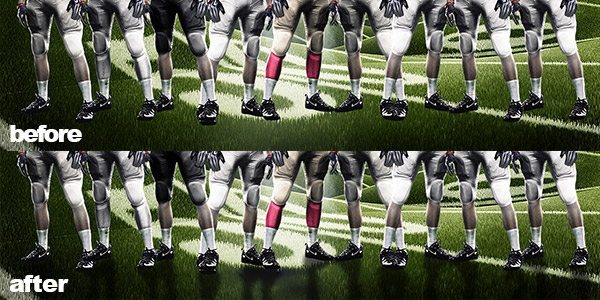
Want to add an illusion of motion to your sports photos? Check out the short tutorial below now to see how it’s done! By the way, I created this quick tutorial because...
Want to add an illusion of motion to your sports photos? Check out the short tutorial below now to see how it’s done! By the way, I created this quick tutorial because...